

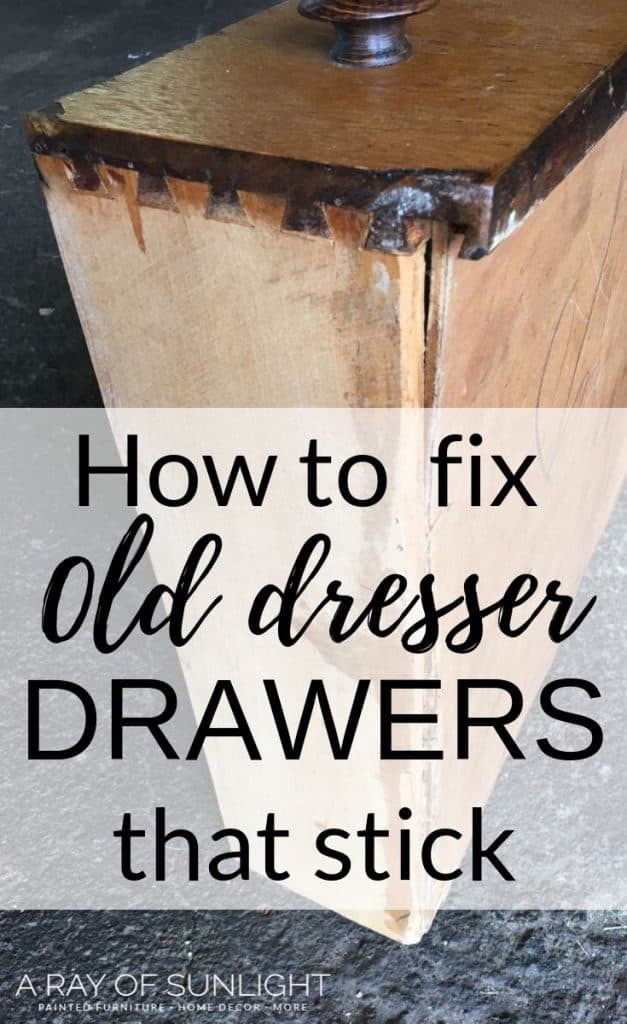
How To Repair The Inside Of An Old Dresser
So y'all've found a actually absurd old dresser, but the drawers don't work well? What a pain! This is a common problem though. Before you paint that dresser (or not), here's how to fix sometime dresser drawers that stick !
Old dressers are notorious for having cleaved drawers of some sort.
They have been around for longer than many of us have, then at that place is a practiced reason why they come with broken pieces.
Get the Secrets!
Grab this super convenient Ebook with all of our secrets on how to repair furniture for only $v. You tin can print information technology out and have instant admission whenever y'all come across damaged article of furniture, and know exactly how to fix it!
Click on the moving picture of the book to purchase!
That doesn't mean that you need to put upward with mucilaginous dresser drawers, cleaved vintage dresser drawers, or even drawers that are hard to open and/or shut.
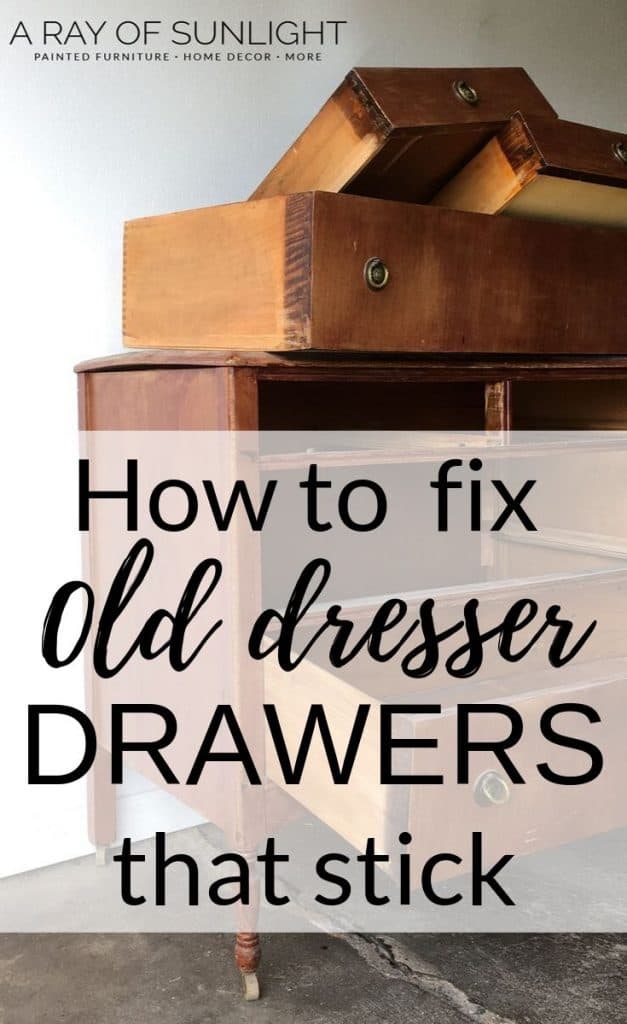
And then here's how to gear up dresser drawers that stick. But we aren't stopping in that location.
We'll too cover how to set up broken drawers, how to make old dresser drawers slide better, how to repair dresser drawers, and even how to remove dresser drawers.
Starting time things first, before y'all tin can fix quondam dresser drawers, yous need to learn how to remove drawers from a dresser.
Information technology might be straight forwards, and it might not be.
And so we volition start at the easiest way to fix drawers and move onto more than advanced ways if the drawer is really broken.
How to Remove Dresser Drawers
Virtually of these really old dressers don't have a track system at all, and they are super simple to remove. You merely slide them out.
But newer dressers usually come with a track system on the bottom or the sides of the drawers.
Most of the fourth dimension a simple, strong tug will go the drawers unstuck.
**Before you give the drawer a good tug though, pull the drawer out as far equally it volition become, and then take a look nether the drawer.
There may be a little latch or lever that needs to be pushed towards the bottom of the drawer to release the drawer.
If the track system is on the side of the dresser drawers, pull the drawer out equally far as information technology will go, and then look in the runway for a plastic lever.
If y'all observe a niggling lever, push it upwards or down on both sides of the drawer, and and so give the drawer a little tug. It should easily come out of the dresser.
Once you have your cleaved drawers removed, you lot can begin to fix information technology.
How to Fix Quondam Dresser Drawers that Stick
Related Makeovers:
- How to Repair Damaged Furniture – Large Holes, Chewed upwardly Article of furniture Etc.
- How to Paint a Dresser White
- What Paint to Use on a Dresser
As an Amazon Associate, I earn from qualifying purchases. I also may earn from other qualifying purchases with other companies or get free production to review and use. All opinions are my own.
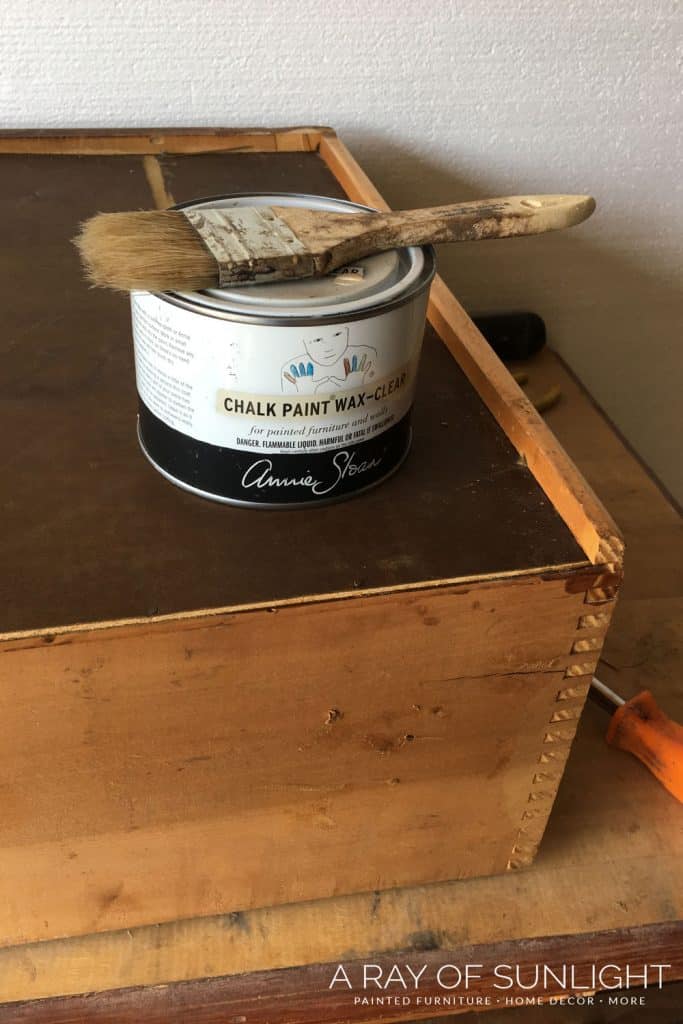
Wax the Drawer Tracks
The easiest and fastest way to fix former dresser drawers that stick is to put some wax on the tracks, or on the parts that slide against each other.
If you lot remember nearly it, forest against wood doesn't seem similar it would create the best environment for sliding, right?
But a slick surface against another slick surface would make things a lot easier.
Wax does just that. One time both surfaces accept been given a healthy coating of wax, the drawers will slide in and out much easier.
You can likewise rub a candle against the drawer tracks, or you could likewise use furniture wax or a bar of soap to brand the old dresser drawers slide easier.
This only works if there is cypher else preventing the drawers from sliding in and out.
Make Sure Nothing is Obstructing the Drawer Track
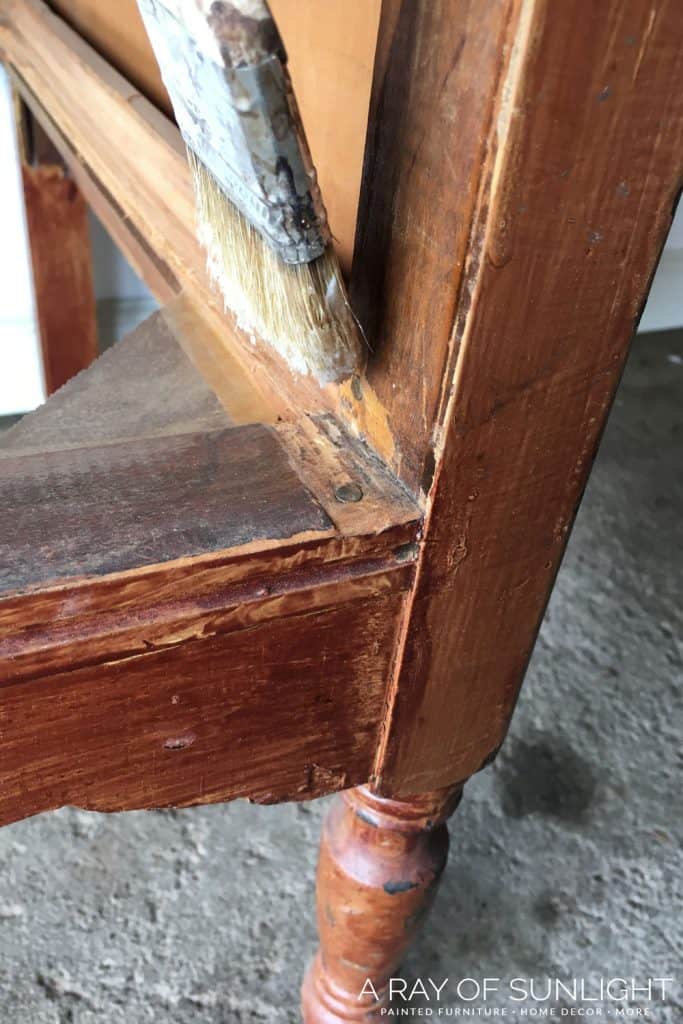
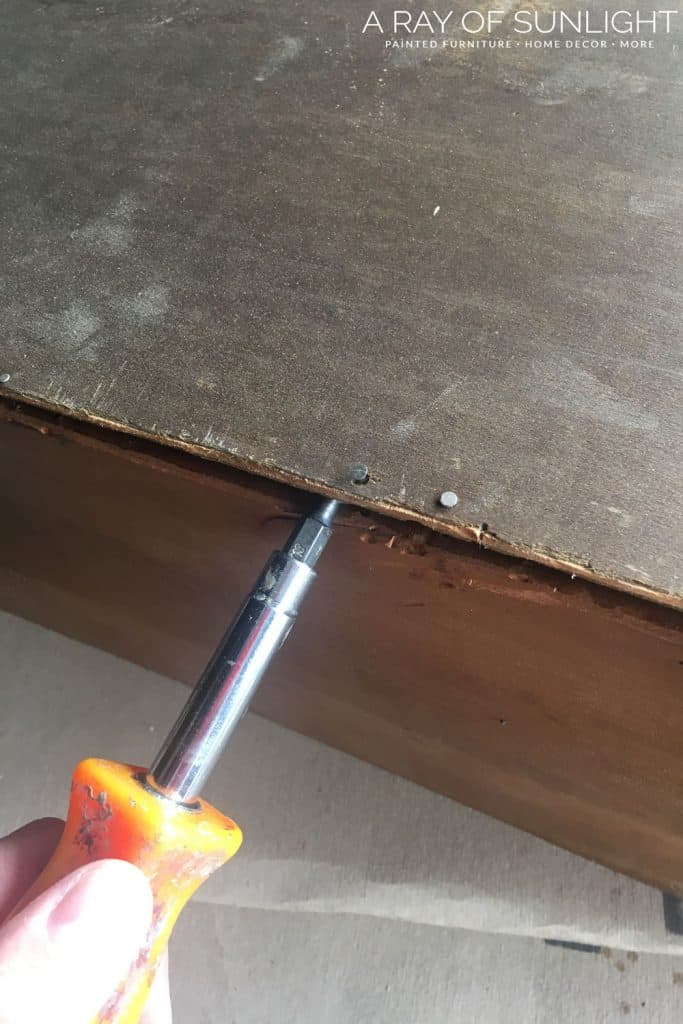
If waxing doesn't help much, turn the drawer over and run into if at that place is anything keeping the drawer from sliding in and out easily.
There may be a nail sticking out of the bottom of the drawer, or the side of the dresser. It only takes i modest thing to cake the drawer from opening and closing.

In this example, there was a blast sticking out of the drawer rails. That nail was causing damage to the drawer track likewise!
I made certain that the boom wasn't holding anything before I removed information technology with a pair of pliers.
Sand the Sides of the Drawers
If you live in a humid area, there is a very loftier chance that the wood in your drawers or dresser has swelled.
In this case, sanding the sides of the drawers down can make a huge difference in getting former drawers to easily slide in and out.
Earlier sanding the drawers, make sure your dresser has been in a climate-controlled environment then the wood is acting normal.
If it has been in the garage for a while, bring it inside for a few weeks to see if the forest contracts at all.
If you need to sand the sides of your drawers down, you will find that there isn't any gap betwixt the side of the drawers and the side of the dresser.
There should exist a pocket-sized gap so the drawers can motility freely.
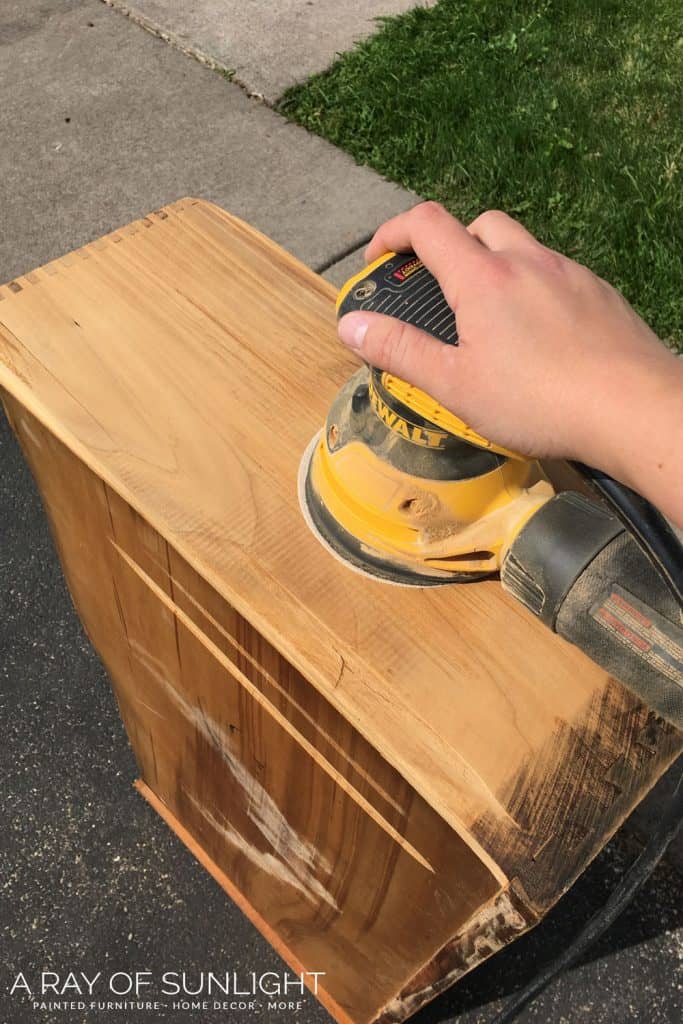
Remove the gluey drawers, and catch your power sander. I like to use 60 dust sandpaper at beginning, and so move up to 220 grit sandpaper when almost of the woods has been sanded down.
60 dust sandpaper will quickly remove woods, while 220 dust sandpaper will polish the wood downwardly.
**When sanding, make sure to take note of certain areas that need attending, and other areas that don't need whatsoever attending. Only sand in the areas that are tight.
It's also best to only sand a petty bit, and and so check your progress then yous don't sand besides much off.
Sanding Drawer Fronts to Fit
This besides applies to inset drawer fronts as well. If they are likewise large for the opening, yous tin sand them downwards to amend fit into the opening.
Before sanding the drawer fronts, you need to make sure the drawers are all in the correct spot, as some dressers are very detail about which drawer goes into which spot.
You'll also want to make sure the dresser frame isn't sagging or falling, making the drawer front end besides big for the opening.
If that is the instance, you'll demand to repair the frame of the dresser get-go.
How to Fix Broken Drawer Bottoms
The lesser of sometime drawers can easily intermission under a lot of weight. Many times the drawer bottoms need to exist replaced or repaired.
Let'due south look at how to repair sagging drawer bottoms beginning.
How to Repair Sagging Drawers
I quick fix on really former dresser drawers is to look at the under the drawer and at the back of the drawer.
Many of these drawers only have small nails holding the drawer bottom to the backside of the drawer.
Inspect this area to make sure the nails are in place, and add together some new nails if they are missing.
** Look for nails that are 3/4″ long with a larger round caput.
How to Keep the Drawer Bottom from Falling Out
On the sides of the drawers, there are notches where the drawer bottom sits.
But sometimes the bottom of the drawer was only cut barely bigger than the drawer itself.
You can cutting a new drawer bottom that is a little fleck larger. And/or you can add support to the bottom of the drawers.
Choose a square dowel that is smaller than the infinite between the drawer lesser and the bottom of the side of the drawer. A 1/4″ foursquare dowel should do the pull a fast one on.
- Cut the dowel into 2-3″ long pieces.
- Make sure the drawer bottom is in its correct place. So turn your drawer upside downwardly.
- Glue the dowel pieces along the border and to the bottom of the drawer. Six pieces per drawer is typical.
- Make certain the glue dries before turning the drawer back over.
- For added support, put a few nails through the dowel and into the side of the drawer. Brand sure the nails don't come out the exterior of the drawer!
The dowels will proceed the bottom from moving effectually, just it will likewise help requite support to the drawer lesser so information technology doesn't come out of the notch on the side of the drawer.
This is another expert idea for sagging drawers.
How to Supervene upon the Lesser of a Drawer
Sometimes the bottom of the drawer really only needs to be replaced. It might be too small, or it might have major damage or cracks in information technology.
Remove the Bottom of a Drawer
Some drawers have easily removable drawer bottoms. Merely remove the nails at the back and bottom of the drawer, and then slide the bottom out.
If that's not the case, you'll demand to take apart the drawer.
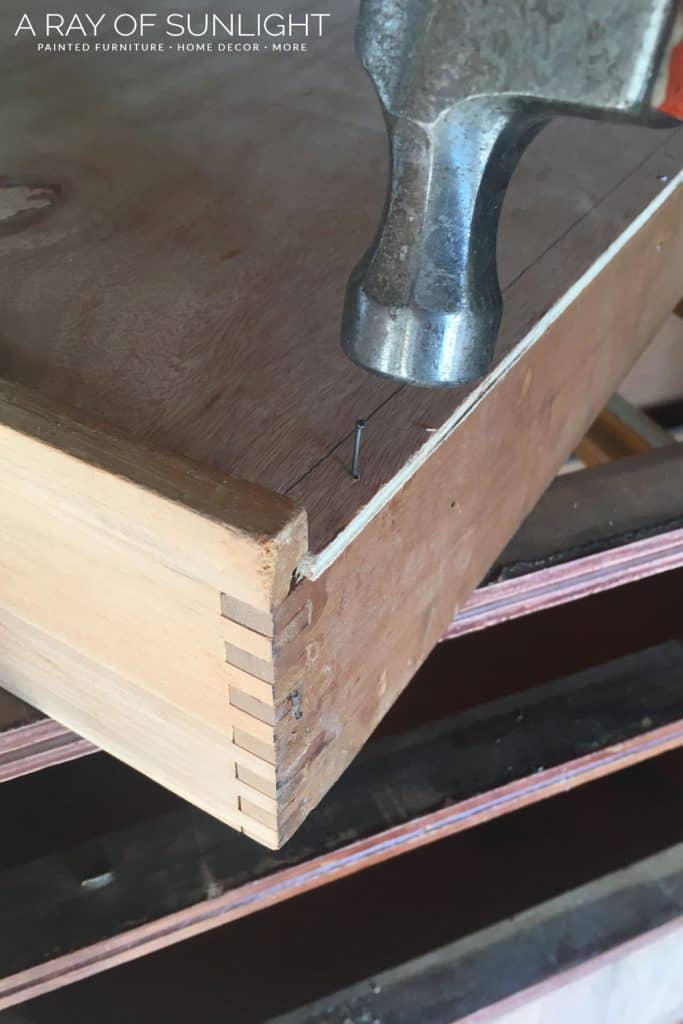
If you're working with a dovetail jointed drawer, be sure to have the drawer apart very carefully. You don't want to break those dovetail joints!
I like to work with the back of the drawer instead of the decorative drawer forepart if possible.
Typically y'all tin lightly tap a hammer on the inside of the drawer (shut to the dovetails) to slide the dovetails out from each other.
Exercise this on both sides of the drawer to remove the back of the drawer.
You may need to remove the drawer track from the lesser of the drawer if at that place is one. Information technology is usually held on with a nail or two (hopefully no glue like the 1 in the image higher up.)
If there is glue holding it on, utilize a hammer and a thin chisel or metal scraper to pry off the drawer track without damaging the runway itself.
Use the aforementioned method to remove the lilliputian triangle supports.
Cut a New Bottom
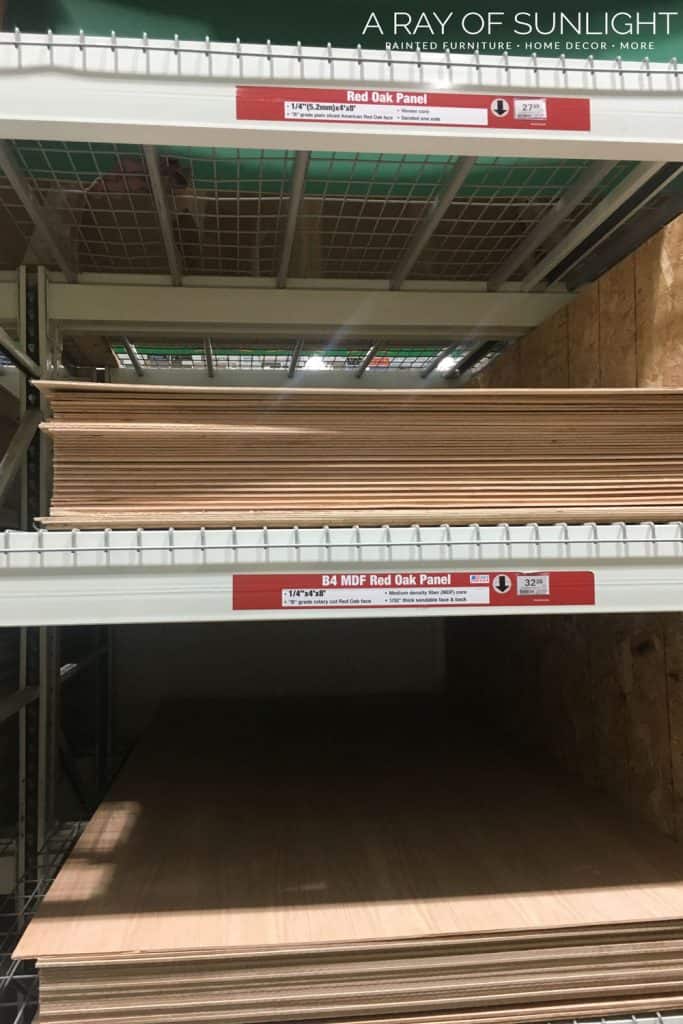
With the old lesser equally a guide, cut a new lesser out of 1/four″ plywood. For this project, we used one/4″ crimson oak plywood.
** If your bottom needs to exist a little bit bigger in one direction, make sure you cut it a little bit bigger than the one-time lesser.
If y'all don't have access to a table saw, you could use a round saw or even a jigsaw. Your local hardware store may be able to cut it downwards for you lot besides.
Later the new bottom is cut, run some sandpaper around the edges of the plywood to remove any splinters, and then reassemble the drawer.
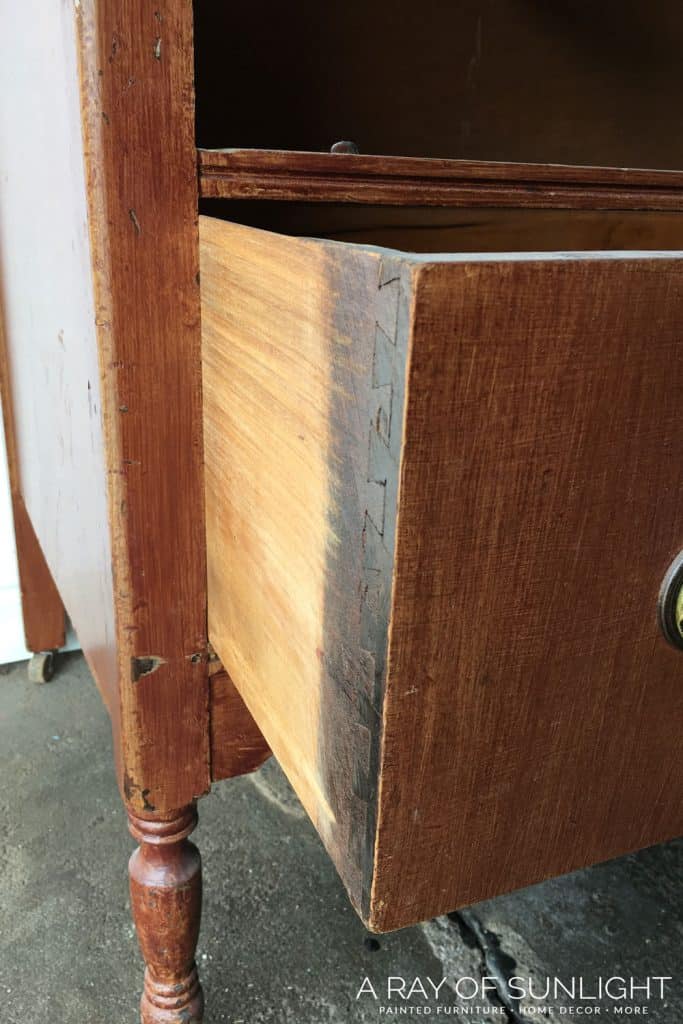
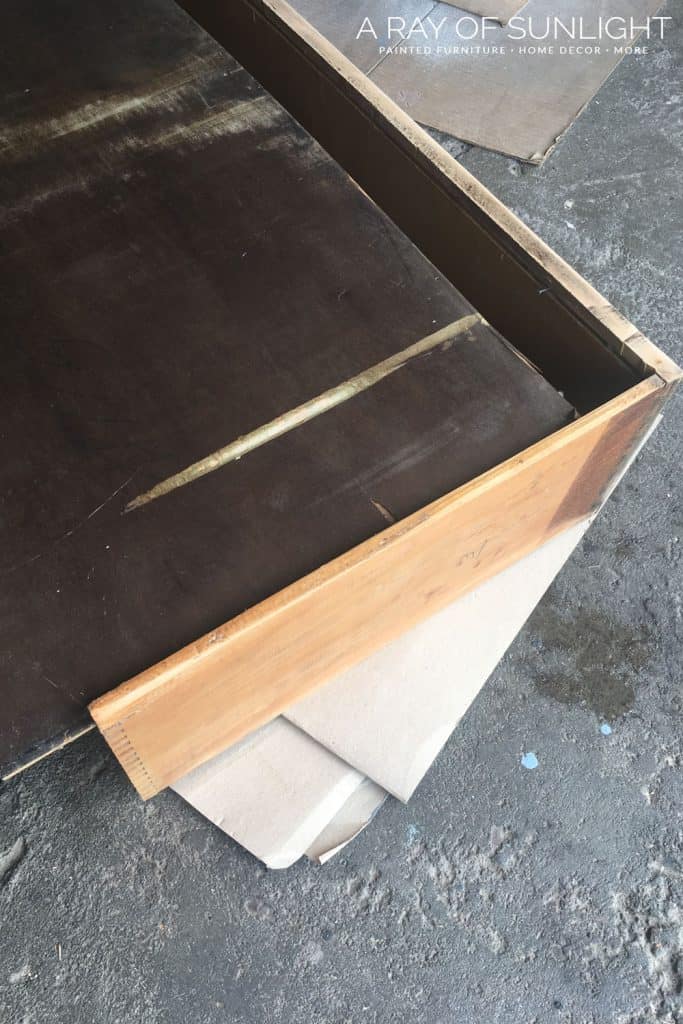
How to Gear up the Side of a Drawer
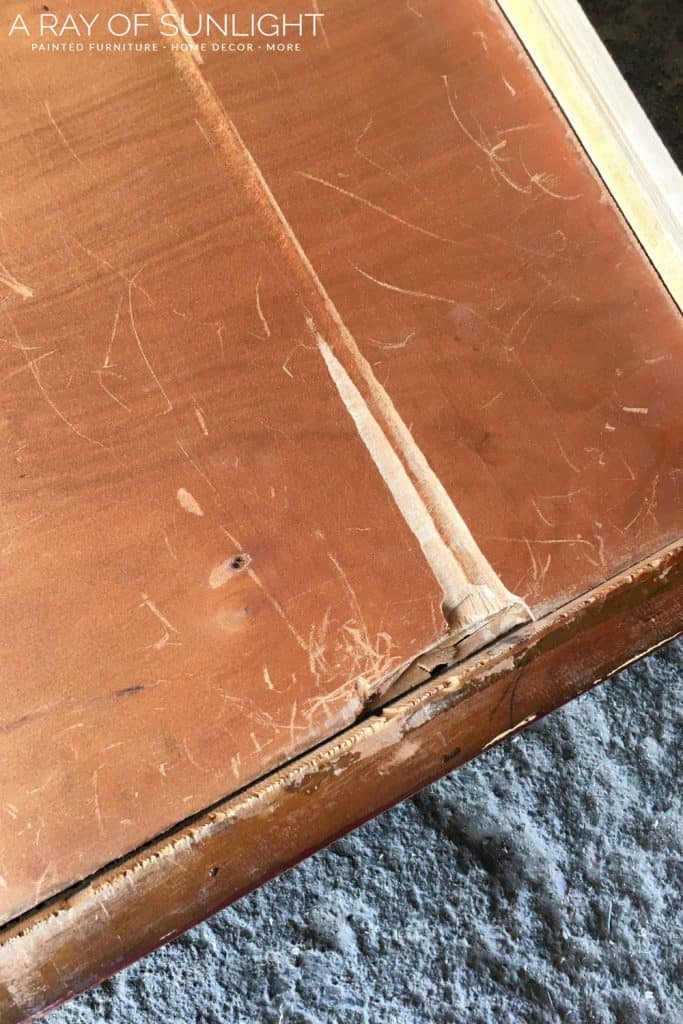
Another problem we run into with dresser drawers sticking is when the side of the drawer is cleaved nether the bottom panel of the drawer.
Since there is a notch cut out in the side of the drawer for the bottom panel to slide into, it'due south easier for the side of the drawer to break nether pressure.
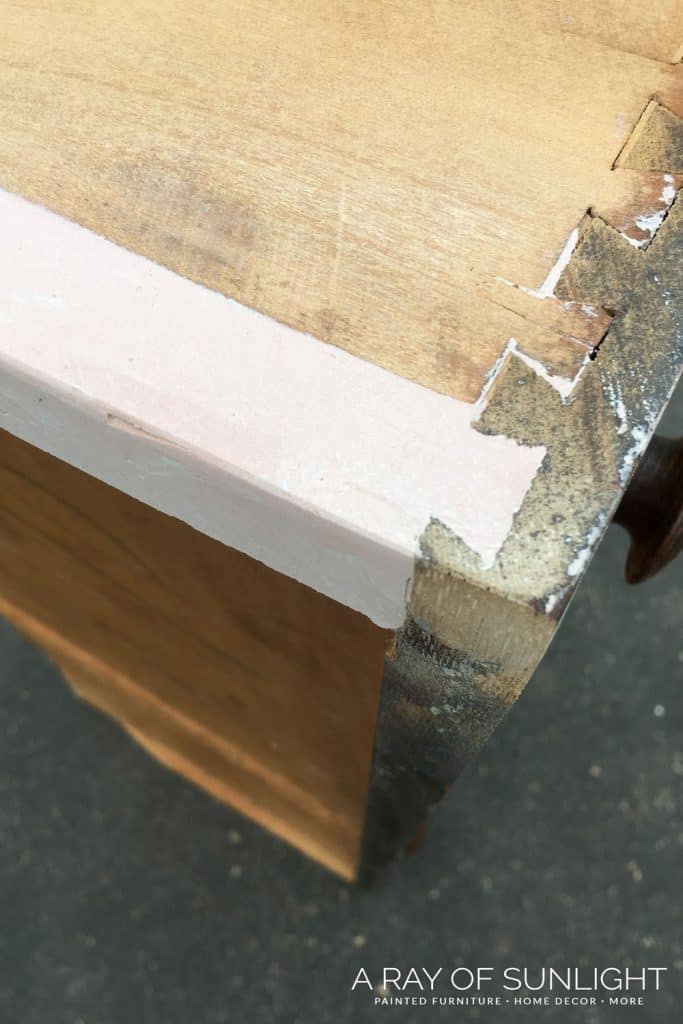
But don't worry! You tin can easily fix it without replacing the whole side! Especially if your drawer has dovetails similar this one!
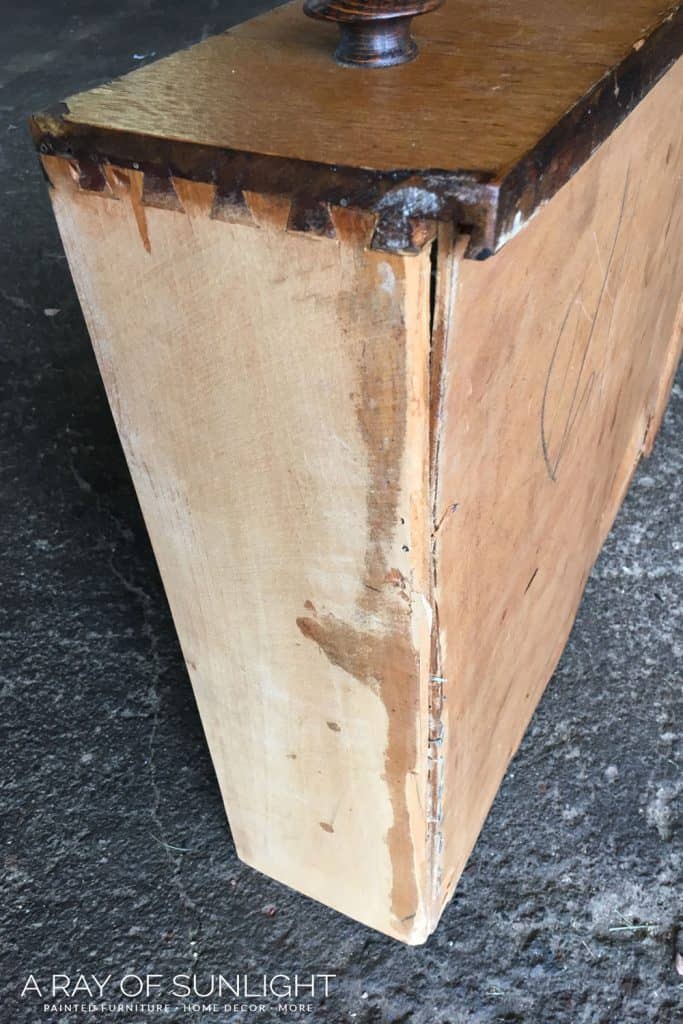
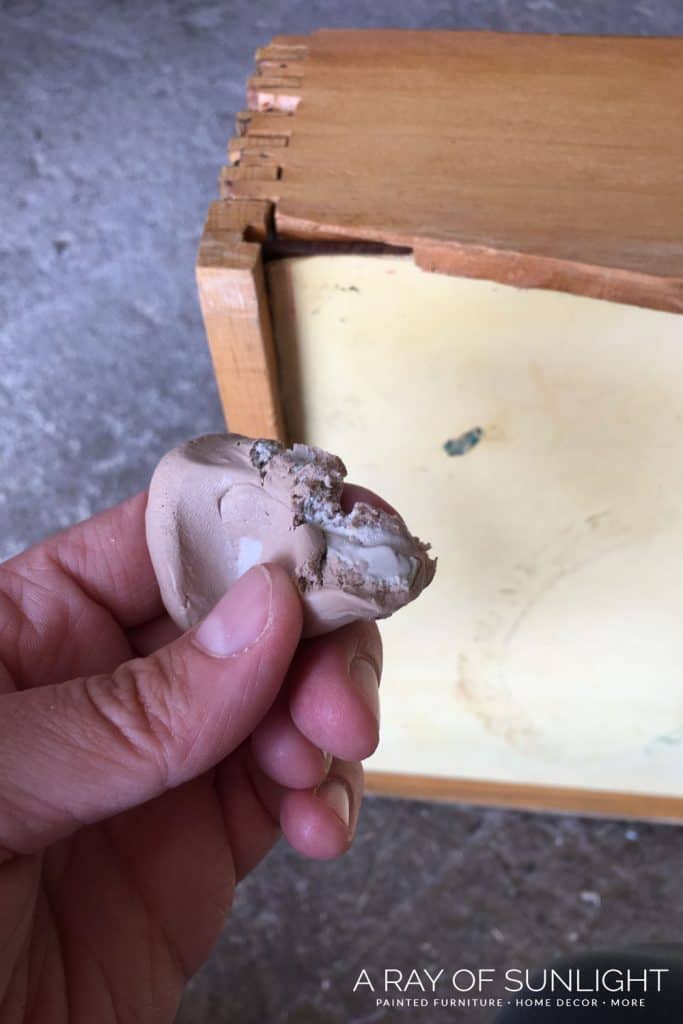
In this case, you can encounter that the drawer was broken right where the bottom panel of the drawer sits.
Whoever tried to ready it in the past just put some nails into the lesser of the drawer to agree information technology into place, and chosen it a day.
The problem with that is the nails were digging into the wood tracks in the body of the dresser every single time it slid in and out.
And it wasn't very like shooting fish in a barrel to slide information technology!
It also meant that the drawer saturday crooked because one side of the drawer was shorter than the other.
All of these things make old dresser drawers hard to open up!
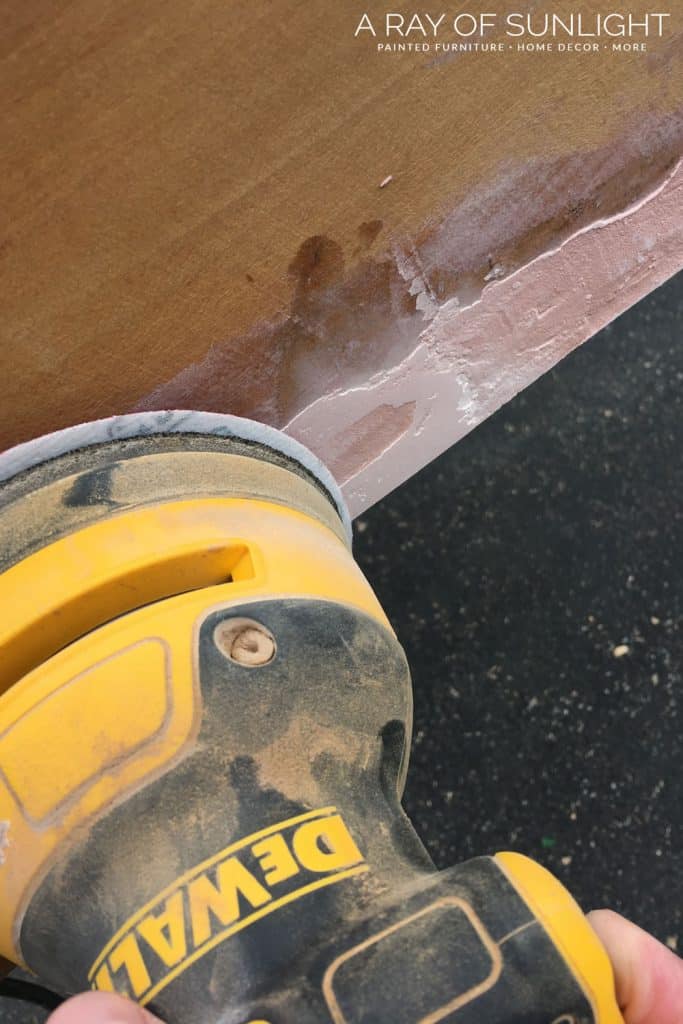
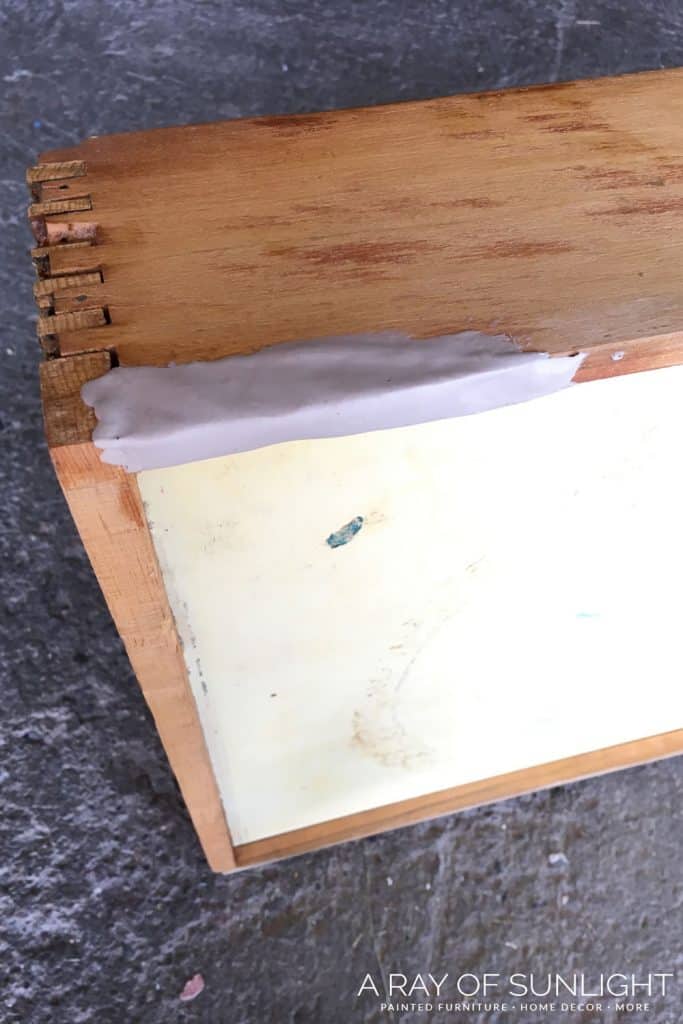
Repairing Furniture with Bondo
Instead of replacing the whole slice of woods (including the dovetails), you can repair the area and build the drawer back up.
You can use Bondo to build onto the side of the drawer and supersede the broken area.
Bondo is a fast-drying material that is great for article of furniture repairs.
I've used information technology many times to rebuild a broken corner, fill up in missing veneer, or repair broken trim.
Learn more about how to apply Bondo to repair furniture and broken trim.
It's a two-role epoxy that starts to dry very quickly afterward being mixed up, then y'all take to work fast.
But that's also the dazzler in it.
You don't take to wait hours for this stuff to dry out. It is set up to sand after about 30 minutes.
Information technology dries very difficult and can be a pain to sand downward if you don't have a power sander.
**(I like the machine body kind of Bondo ((the pink stuff)) considering yous tin can see if you have mixed enough pink hardener in it, vs the wood filler and all-purpose kind that have a articulate hardener.)
The other kinds will piece of work as well! Just not every bit easy for the beginner.
Bondo is thinner than dirt, so it has to exist contained and molded while it starts to prepare, so the most difficult part of this process is to build a box out of scrap wood to mold it into the shape we need information technology to be.
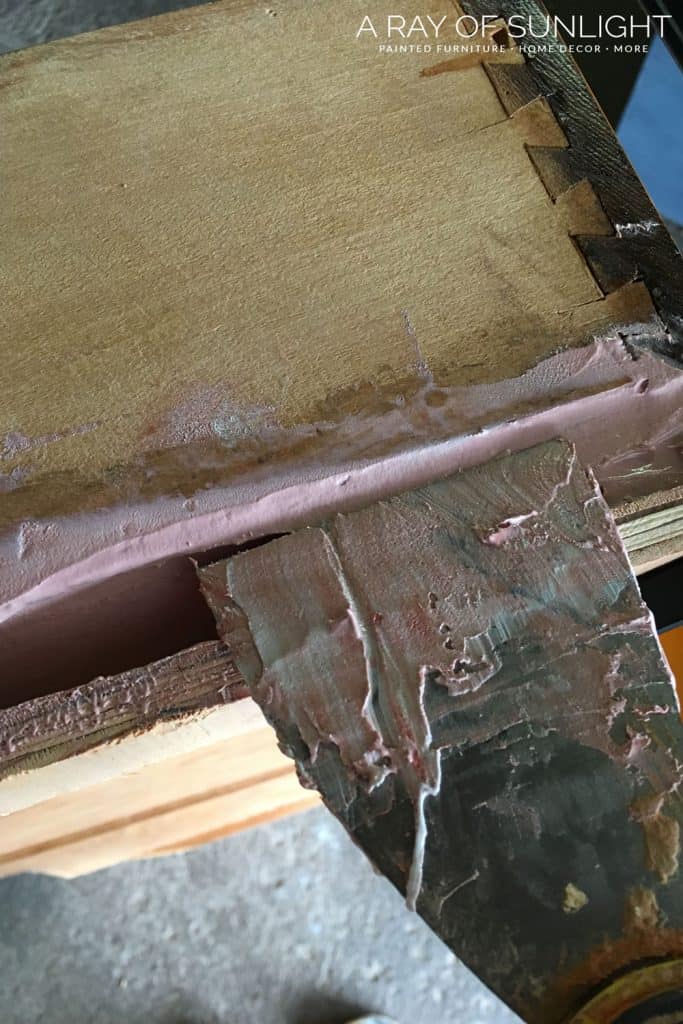
How to Repair the Side of a Drawer
First, remove any nails, or staples holding the lesser in place.
Locate two direct boards that are longer than the side of the drawer. 1 should be the thickness of the interruption.
So for this drawer, I needed a board that would line up from the lesser panel to the bottom of the drawer front end. It was most 3/iv″ thick.
The 2nd board can exist thin and skinny.
It just needs to exist at least a couple of inches wide to clench onto the other boards while still creating the bottom of the box.

It's better for this wood to be a fiddling thicker than yous need because you lot tin sand the Bondo downwards smooth easier than building it up more later on the box is gone.
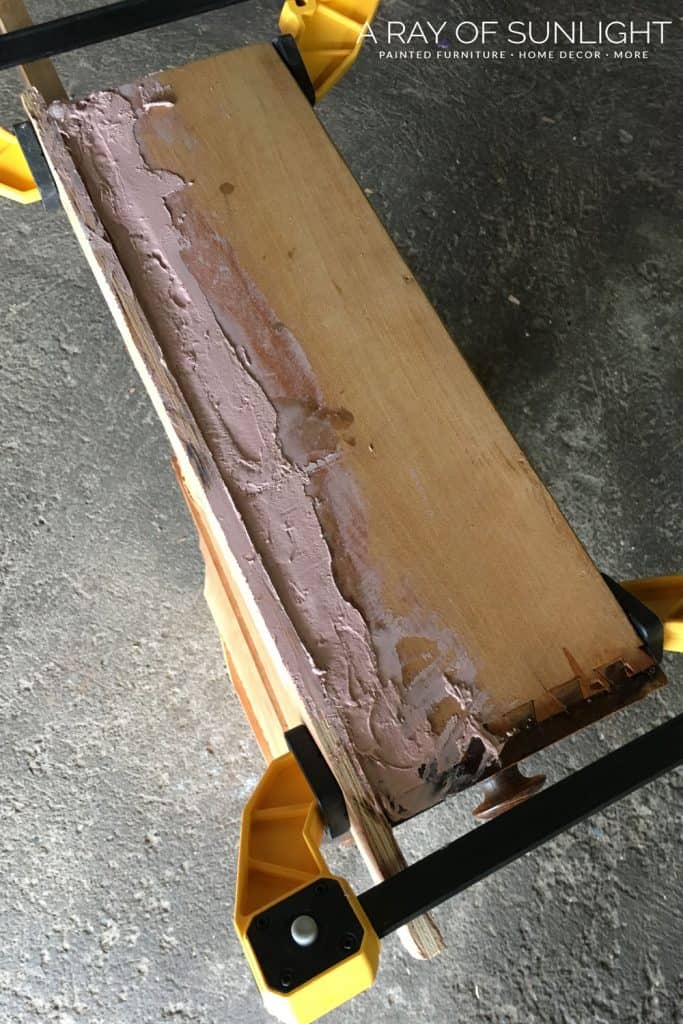
Build a Box Mold for the Bondo
I asked my husband to help hold the boards while we got them clamped into place.
Two hands just weren't quite enough.
Be sure to rub vaseline, wax, or spray pam onto the boards earlier you clench them in identify.
Otherwise, the Bondo will stick to them. You only desire the Bondo to stick to the drawer.
Information technology's also all-time to scuff upwardly the break with some sandpaper, and and then make sure it's dust-free and wax-complimentary before moving on.
This ensures the Bondo will stick to the drawer.
- Lineup the get-go board so it is about 3/4″ from the side of the drawer.
- Place the thinner board on top of that, lining upward with the side of the drawer.
- Clamp the boards onto the drawer.
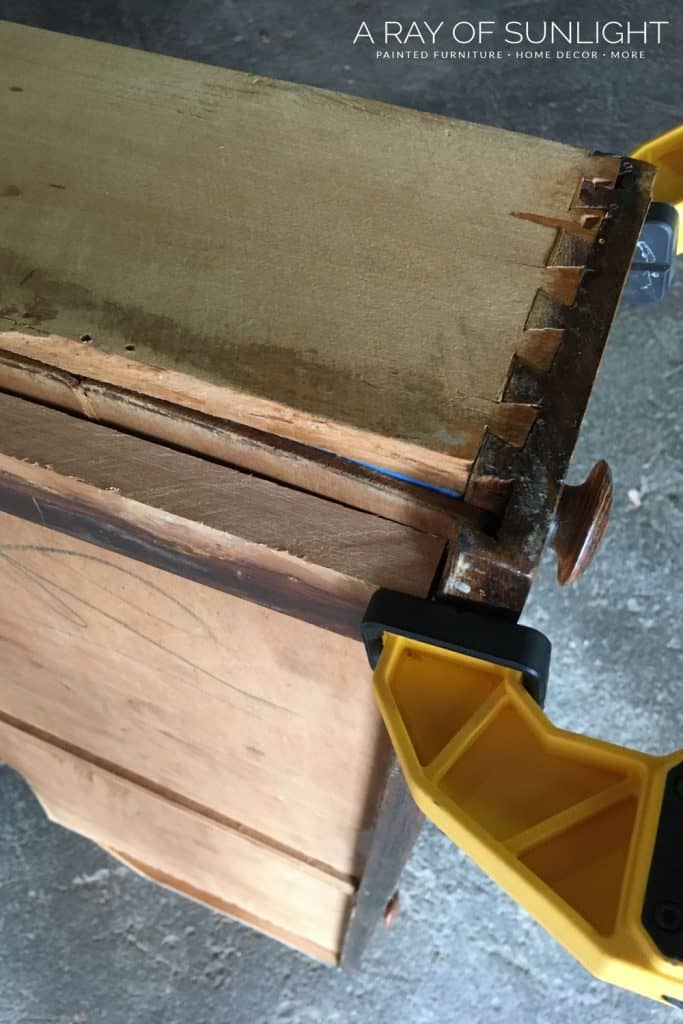

Y'all should have created a box with the top open to put the Bondo into. The box is where the side of the drawer was broken.
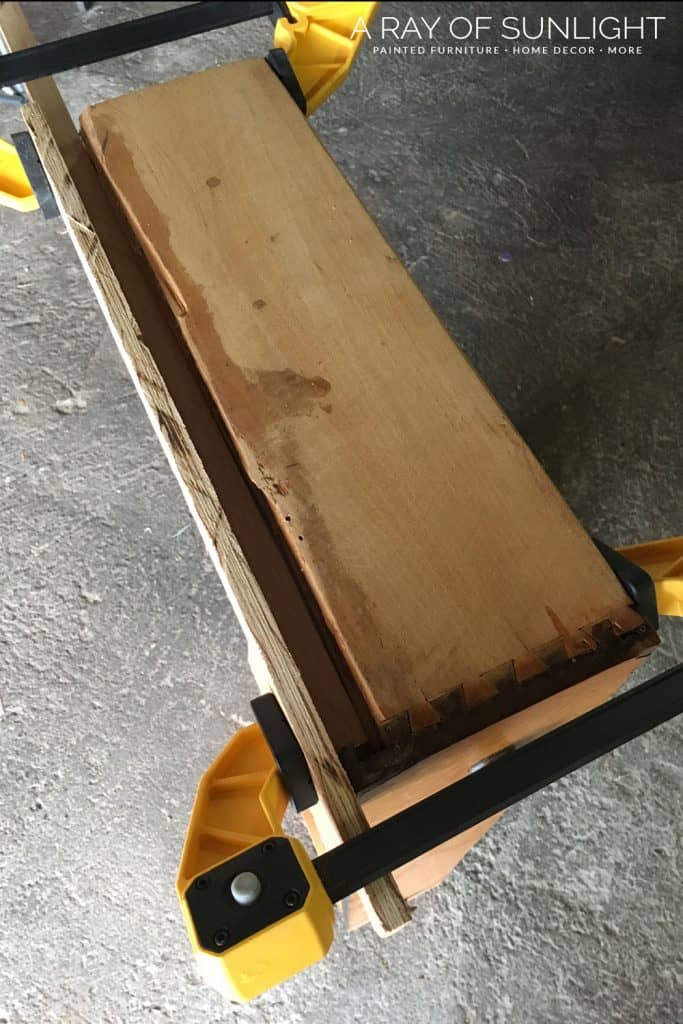
Fill the Box with Bondo
Once y'all have the box congenital, you can fill it with Bondo.
Bondo is a two-part epoxy resin that needs to exist mixed together. One time information technology is mixed, information technology starts to dry very quickly.
Mix time and work time is typically iii-4 minutes.
Information technology's as well pretty stinky, so information technology should exist used in a well-ventilated area.
Mix the Bondo by following the increments described on the back of the can.
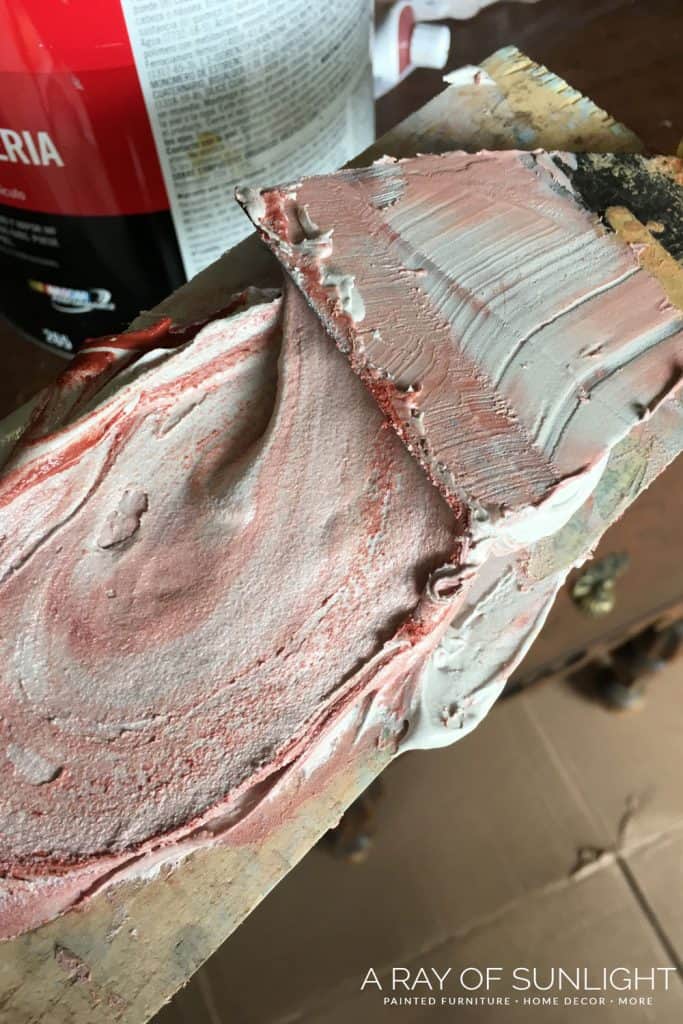
Quickly fill up the box with Bondo, making sure to push the Bondo into the drawer. Yous want the Bondo to really stick to the drawer.
If you demand more Bondo, mix up some more than, and fill the box full.
Permit the Bondo dry out for a few minutes. You can remove the box once the Bondo isn't sticky.
When yous unclamp the boards, they should pop right off because of the wax.
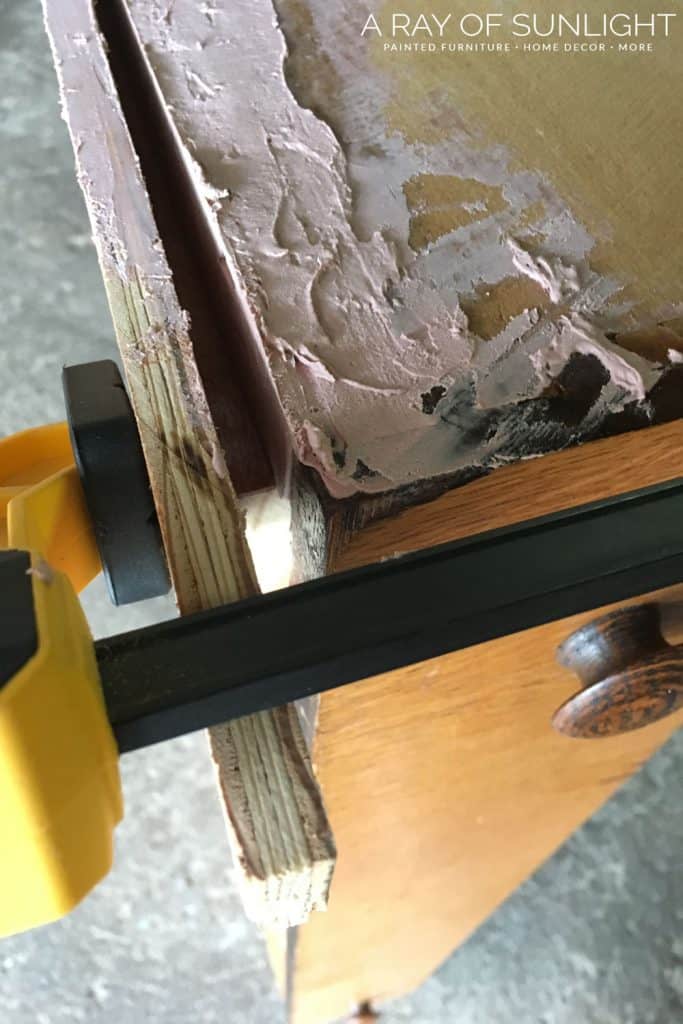
Permit the Bondo dry for at to the lowest degree 30 minutes, merely an hr or then is better.
With your power sander, sand the Bondo downwards to the correct size and shape.
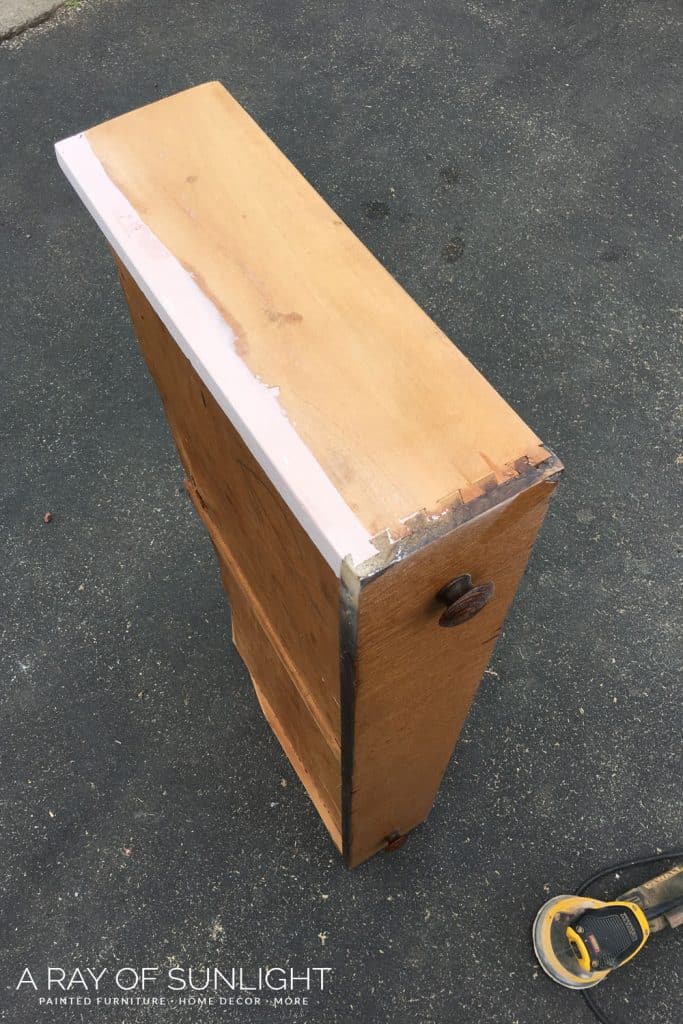
Test out the drawer and make sure it sits correctly in the dresser.
Mine needed to be sanded down a chip more to allow for the front of the drawer to push into the dresser correctly.
Old Drawer Repair with Kwikwood
**For smaller breaks, you could use Kwikwood instead. Its texture is more than like dirt, so you can mold it in the shape you need information technology in. Then one time it's dry afterward a couple of hours, you tin sand it downward more to shape.

How to Repair a Drawer Runner
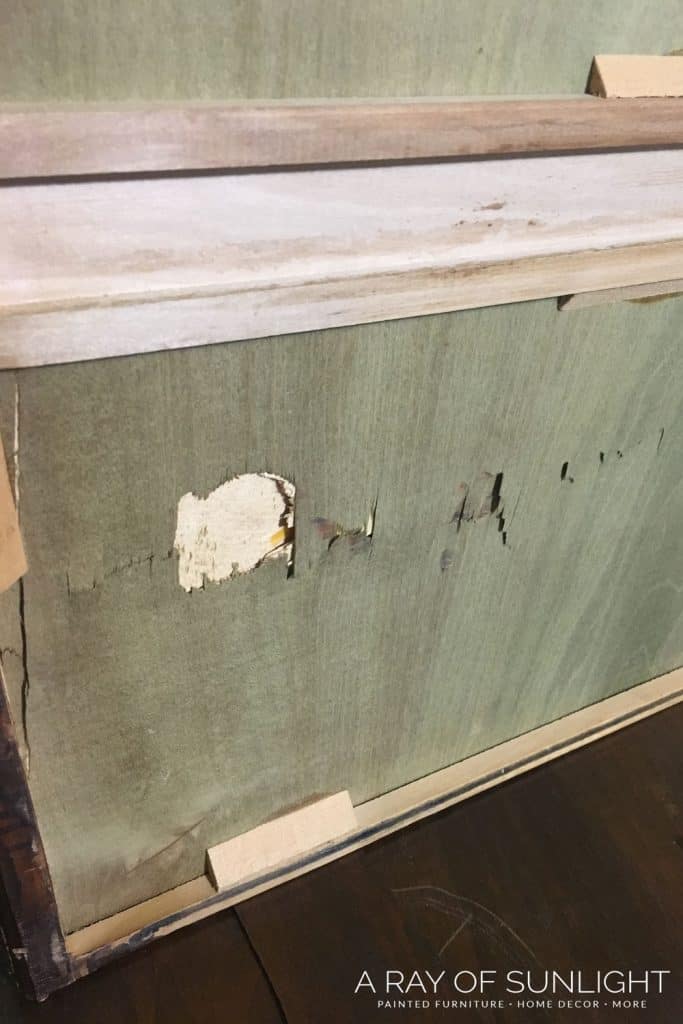
On old dressers like these, you may discover that the drawer runner is very worn or even missing.
This is the part of the dresser that the drawer slides in and out on.
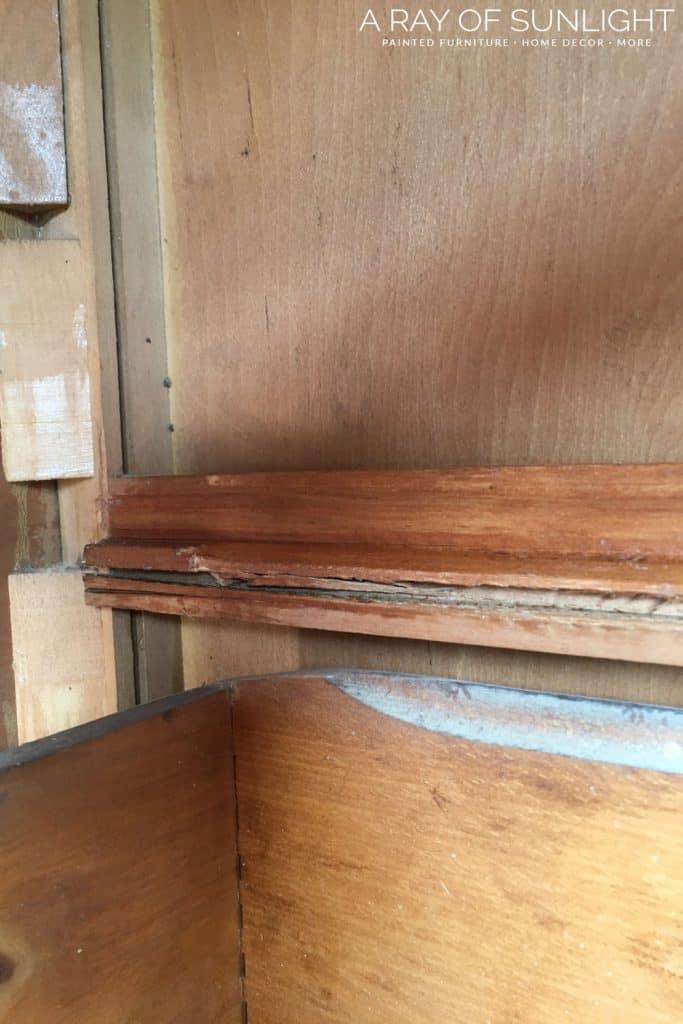
You can cut a piece of woods out to supplant the runner!
In this case, the runner was very worn down. A nail had been damaging it, and it was about to suspension.
- I cut off the runner and so replaced it with a slice of wood, cut downwardly to size.
- And then I glued and nailed it into place.

The drawer slides in and out then much easier now!
I hope that was a huge help to you! When drawers don't work on a dresser, it can be super frustrating!
Merely now you lot know how to fix former dresser drawers that stick… and then some more!
PIN THIS TUTORIAL FOR Subsequently.
Find more than inspiration and learn how to upcycle old furniture with these DIY Dresser Makeovers .
More Piece of furniture Tips:
- How to Alter Hardware on a Dresser
- Staining a Dresser Darker
- How to Gear up Broken Trim on Furniture
- Pink Vintage Dresser with Aureate Hardware
-Natalie

How To Repair The Inside Of An Old Dresser,
Source: https://arayofsunlight.com/how-to-fix-old-dresser-drawers-that-stick/
Posted by: michaudhimentrapsed00.blogspot.com
0 Response to "How To Repair The Inside Of An Old Dresser"
Post a Comment